

Build your very own loom that you can use to weave fabric and patterns with threads or yarn. This simple project uses basic hand tools (saw, square, hammer) to create a simple wood loom on which you can make a ~8”x8” piece of textile. Use your fabric as a wall hanging, or incorporate it into a sewing project.
As the exact dimensions of the loom frame aren't critical, this project is ideal for using what scrap wood is available. To minimize splitting, choose spruce or pine with a minimum cross-section of 1” x 2”.
Teachers, use this project to combine ADST woodworking and textiles lessons. Help students through an applied design process where they choose a final sewing project (eg, a phone pouch, a pillow case, a blanket), then have them determine the necessary loom dimensions before building. You could also use the loom project in a social studies setting, learning about Coast Salish weavers and/or inviting a guest speaker weaver into your classroom.
Explore Related Trades Careers: Millwright, Carpenter
Check out our own Dean Heron's interview with world-renowned fashion designer Sho Sho Esquiro.
Big thanks to Alex McKillop from Burnaby school district for sharing his project idea with us!
Tools & Materials
Material List
- one piece approx. 2" x 2" x 24" spruce or pine
- one piece approx. 1" x 2" x 24" spruce or pine
- sixty 1 1/2" nails
- wood glue
Optional
Tool list
- safety glasses
- ear protection
- measuring tape
- pencil
- hand saw
- clamp
- ruler or straight edge
- hammer
- speed square or carpenter's square
- mitre box
Optional
Procedure
-
Put on your safety glasses and ear protection.
-
On both of your two long pieces of wood, use a measuring tape and pencil to make a mark at the middle (lengthwise).
-
Clamp your mitre box (or your wood directly) to your work surface and saw each of your two pieces in half. You will have four pieces of wood, two thin and two wide, all the same length.
-
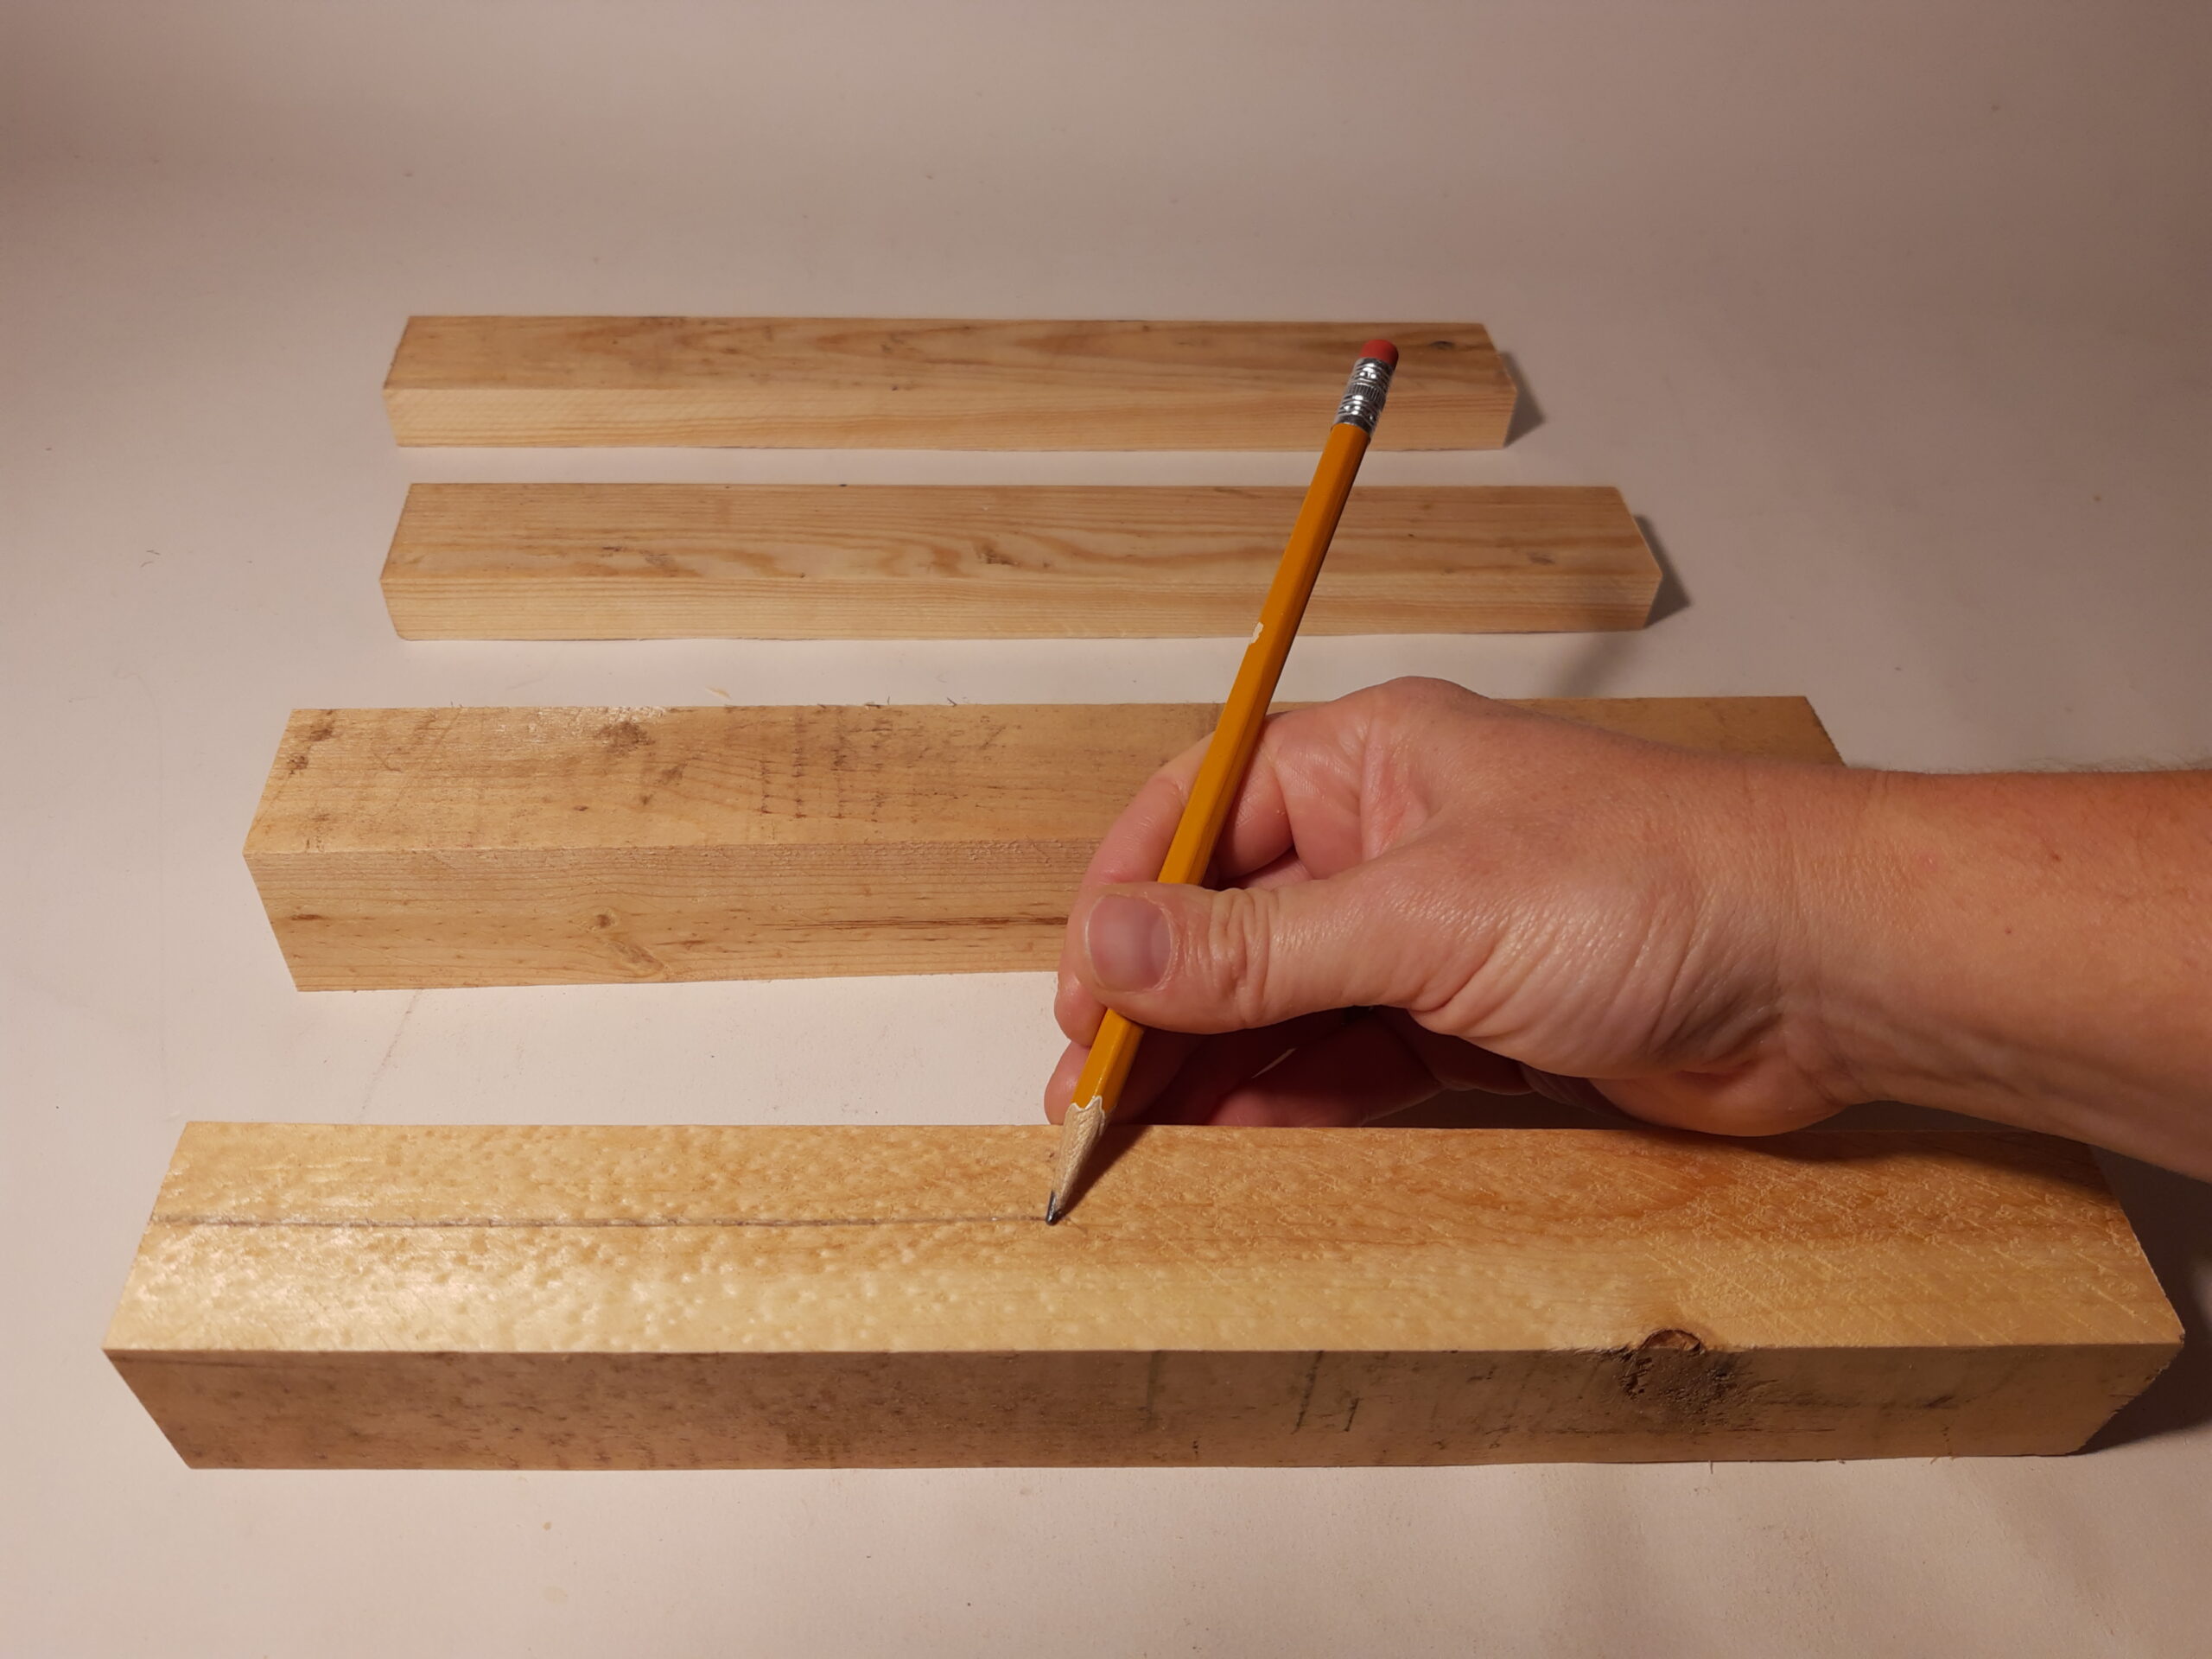 On both of your wide pieces, use a pencil to draw a long line down the middle of one side. A ruler can help keep your line straight.
 -
 Use your measuring tape and pencil to mark nail holes every 3/8” (or 1cm) along the lines from step 3. Keep in mind that any nails driven in within 1 ½” (~4cm) of the end might split your wood – erase the first and last two dots from each row, or start your dots about 1 1/2” (~4cm) in from the ends.
 -
 Place your wide pieces on the workbench or the floor, parallel to each other, with the lined sides facing down. Put your thin pieces on top of the ends of the thick ones, like you are starting to make a square log cabin.
 -
Optional: add a pea-sized dot of glue in each corner between the wood pieces before you move on to the next step.
-
 Use your hammer to drive one nail straight down into each corner: starting in the thin piece and straight down into the wide piece. Note: to help prevent the wood from splitting, turn each nail pointy side up and hit it with the hammer a few times to dull the points before hammering them into the wood. The closer you put your nail to the end of the wood, the more likely the wood will split: stay at least 1” (or 2.5cm) in from the ends.
 -
 If you are new to nailing, try poking your nail through a piece of corrugated cardboard, then hold the edge of the cardboard while you position and start hammering your nail. This keeps the nail upright while keeping your fingers out of the way as you learn how to be accurate with your hammer taps.
 -
 Use a carpenter’s square or speed square to check that each corner is 90° and readjust your frame as necessary.
 -
 When all the corners are square, add one more nail to each corner to stabilize your loom frame.
 -
 Turn the loom frame over so the lined sides are facing up. Use your hammer to insert a nail at each mark you made in step 4. Try to drive them in straight down, and only halfway down. Use this as nailing practice, and don’t worry if your nails are a bit wonky. The most important things are that you put the nails in at your marks and drive them far enough in that they are solid and not wobbly.
 -
Your loom is ready to use! Look up how to use a simple loom to learn how to create a warp (the vertical strings) around your nails, then start weaving. Ask a textiles teacher for ideas on how to make something out of your new fabric you weave!
Prepare your pieces:
Mark your nail locations:
Assemble the frame
Extension Challenges
- Practice using a drill: drill pilot holes in the corners and drive wood screws in to put the frame together. You can also use the drill to predrill the nail holes along the top and bottom of the frame, which will help prevent splitting.
- Sand your wood pieces before you assemble your loom so that there are no rough bits to snag your yarn on while weaving.
- Stagger your top nails in a zig-zag pattern so you can condense your vertical strings (“warp”) and weave a denser fabric.
- Design a textiles project: figure out the dimensions of fabric you need, and build a custom loom to weave it. For example, you could weave a custom phone case: take measurements from your phone to see how big a piece of fabric you need to sew with. This will help you determine how long and wide your loom needs to be.
- Look up “circle weaving” then design and build your own circular loom.
- Make yourself some weaving tools, such as smooth dowels and long needles to speed and ease your weaving.
- Design a 3D loom that you can leave your weaving on, creating a sculpture project.
- Have an entire classroom of students each weave one square, then sew them all together to create a large wall hanging or blanket.