
Welcome to the Tool Tutorial about clamps! These versatile tools allow you to do all sorts of work by creating pressure and staying power that your hands just don’t have. Read on to find out all the different ways you can use clamps to assist you with your designing and building needs.
Check out more Tool Tutorials by scrolling to “related projects” at the bottom of this page, or by using the “advanced filter” on the projects page. Each tutorial covers safety considerations, the tool’s purpose, and how to put your new skills into practice.
Teachers and instructors, use these Tool Tutorials to enrich your ADST lessons. Familiarize your students with the tools as you guide them through some fun design challenges. For more detail on teaching design thinking, have a read through Open School BC's Taking Making into Classrooms, and check out the BCTEA’s Heads Up for Safety resources for more information about safety in the classroom Elementary Heads Up for Safety, Heads Up for Safety Grades 6-12 .
Explore Related Trades Careers: Carpenter, Cabinetmaker, Marine Service Technician
Tools & Materials
Material List
- scrap wood (eg, ~1"x2"x6")
- sturdy work bench or table
Tool list
- F-clamp, any size
- c-clamp, spring clamp, quick-action clamp
Optional
Procedure
-
There are many times when you’re building something that you will need to hold your material tight, or hold it in place for a long time, in ways that you wouldn’t be able to accomplish with your hands. Clamps are handy tools that use simple machines to help create force against your material to hold it together, or to a work bench, or to other parts of your project.
Keep in mind that a vise is a similar type of gripping or holding tool, but vises are usually attached to a work bench surface and hold your project in place there. -
Clamps are often used to hold glued pieces of wood together tightly as the glue sets.
-
You can use clamps to hold your project or piece still while you saw it, hammer it, drill it, etc.
-
 Clamps can be used to hold wood in place when you are “steam bending” it. When you heat a piece of wood in steam it becomes flexible; if you set it into a curve and hold it with clamps while it cools, it will retain the new shape! This is often used when making boats or furniture where you need lengths of curved wood that are strong and won’t split the way that pieces of wood cut into the same shape could. This is a picture looking down into a boat hull that is being constructed, with several c-clamps holding two yellow cedar 2x4 "frames" that are cooling in place.
 -
 F-clamps and C-clamps are common, strong types of clamps often used in woodworking to hold pieces of wood to themselves or a workbench. All-metal versions of these clamps are used for holding metal pieces in place while welding.
 -
 Quick action clamps are light-duty clamps that are easy to position and tighten with one hand. They are commonly used to hold a freshly glued woodwork project together while waiting for the glue to set.
 -
 Spring clamps are light-duty clamps as well; they’re easily placed with one hand and good for holding your glued wood pieces together as they dry. They are also surprisingly handy to have around the workshop for all sorts of “holding” tasks; from keeping an electrical cord out of your workspace to clipping a cloth backdrop up while taking a photo of your project.
 -
 Locking chain clamps are used in metal shops to hold round materials such as pipes still while you work. They are similar to metal vises, but instead of parallel metal jaws that can deform your round material, the chain creates an even gripping pressure around your pipe that won’t squish it out of shape.
 -
 Wood hand screw clamps provide the forces needed to clamp wood pieces together without damaging the project’s surfaces the way a metal or plastic-jawed clamp can.
 -
There are MANY more styles of clamps that are specific to different types of work and tasks. When you see a new clamp, have a good look and see if you can figure out how it tightens and loosens, and what component (or simple machine) creates the pressure or force needed to hold the jaws in place.
-
 Press the spring-lock trigger to release the jaw so it can slide up and down the bar easily.
 -
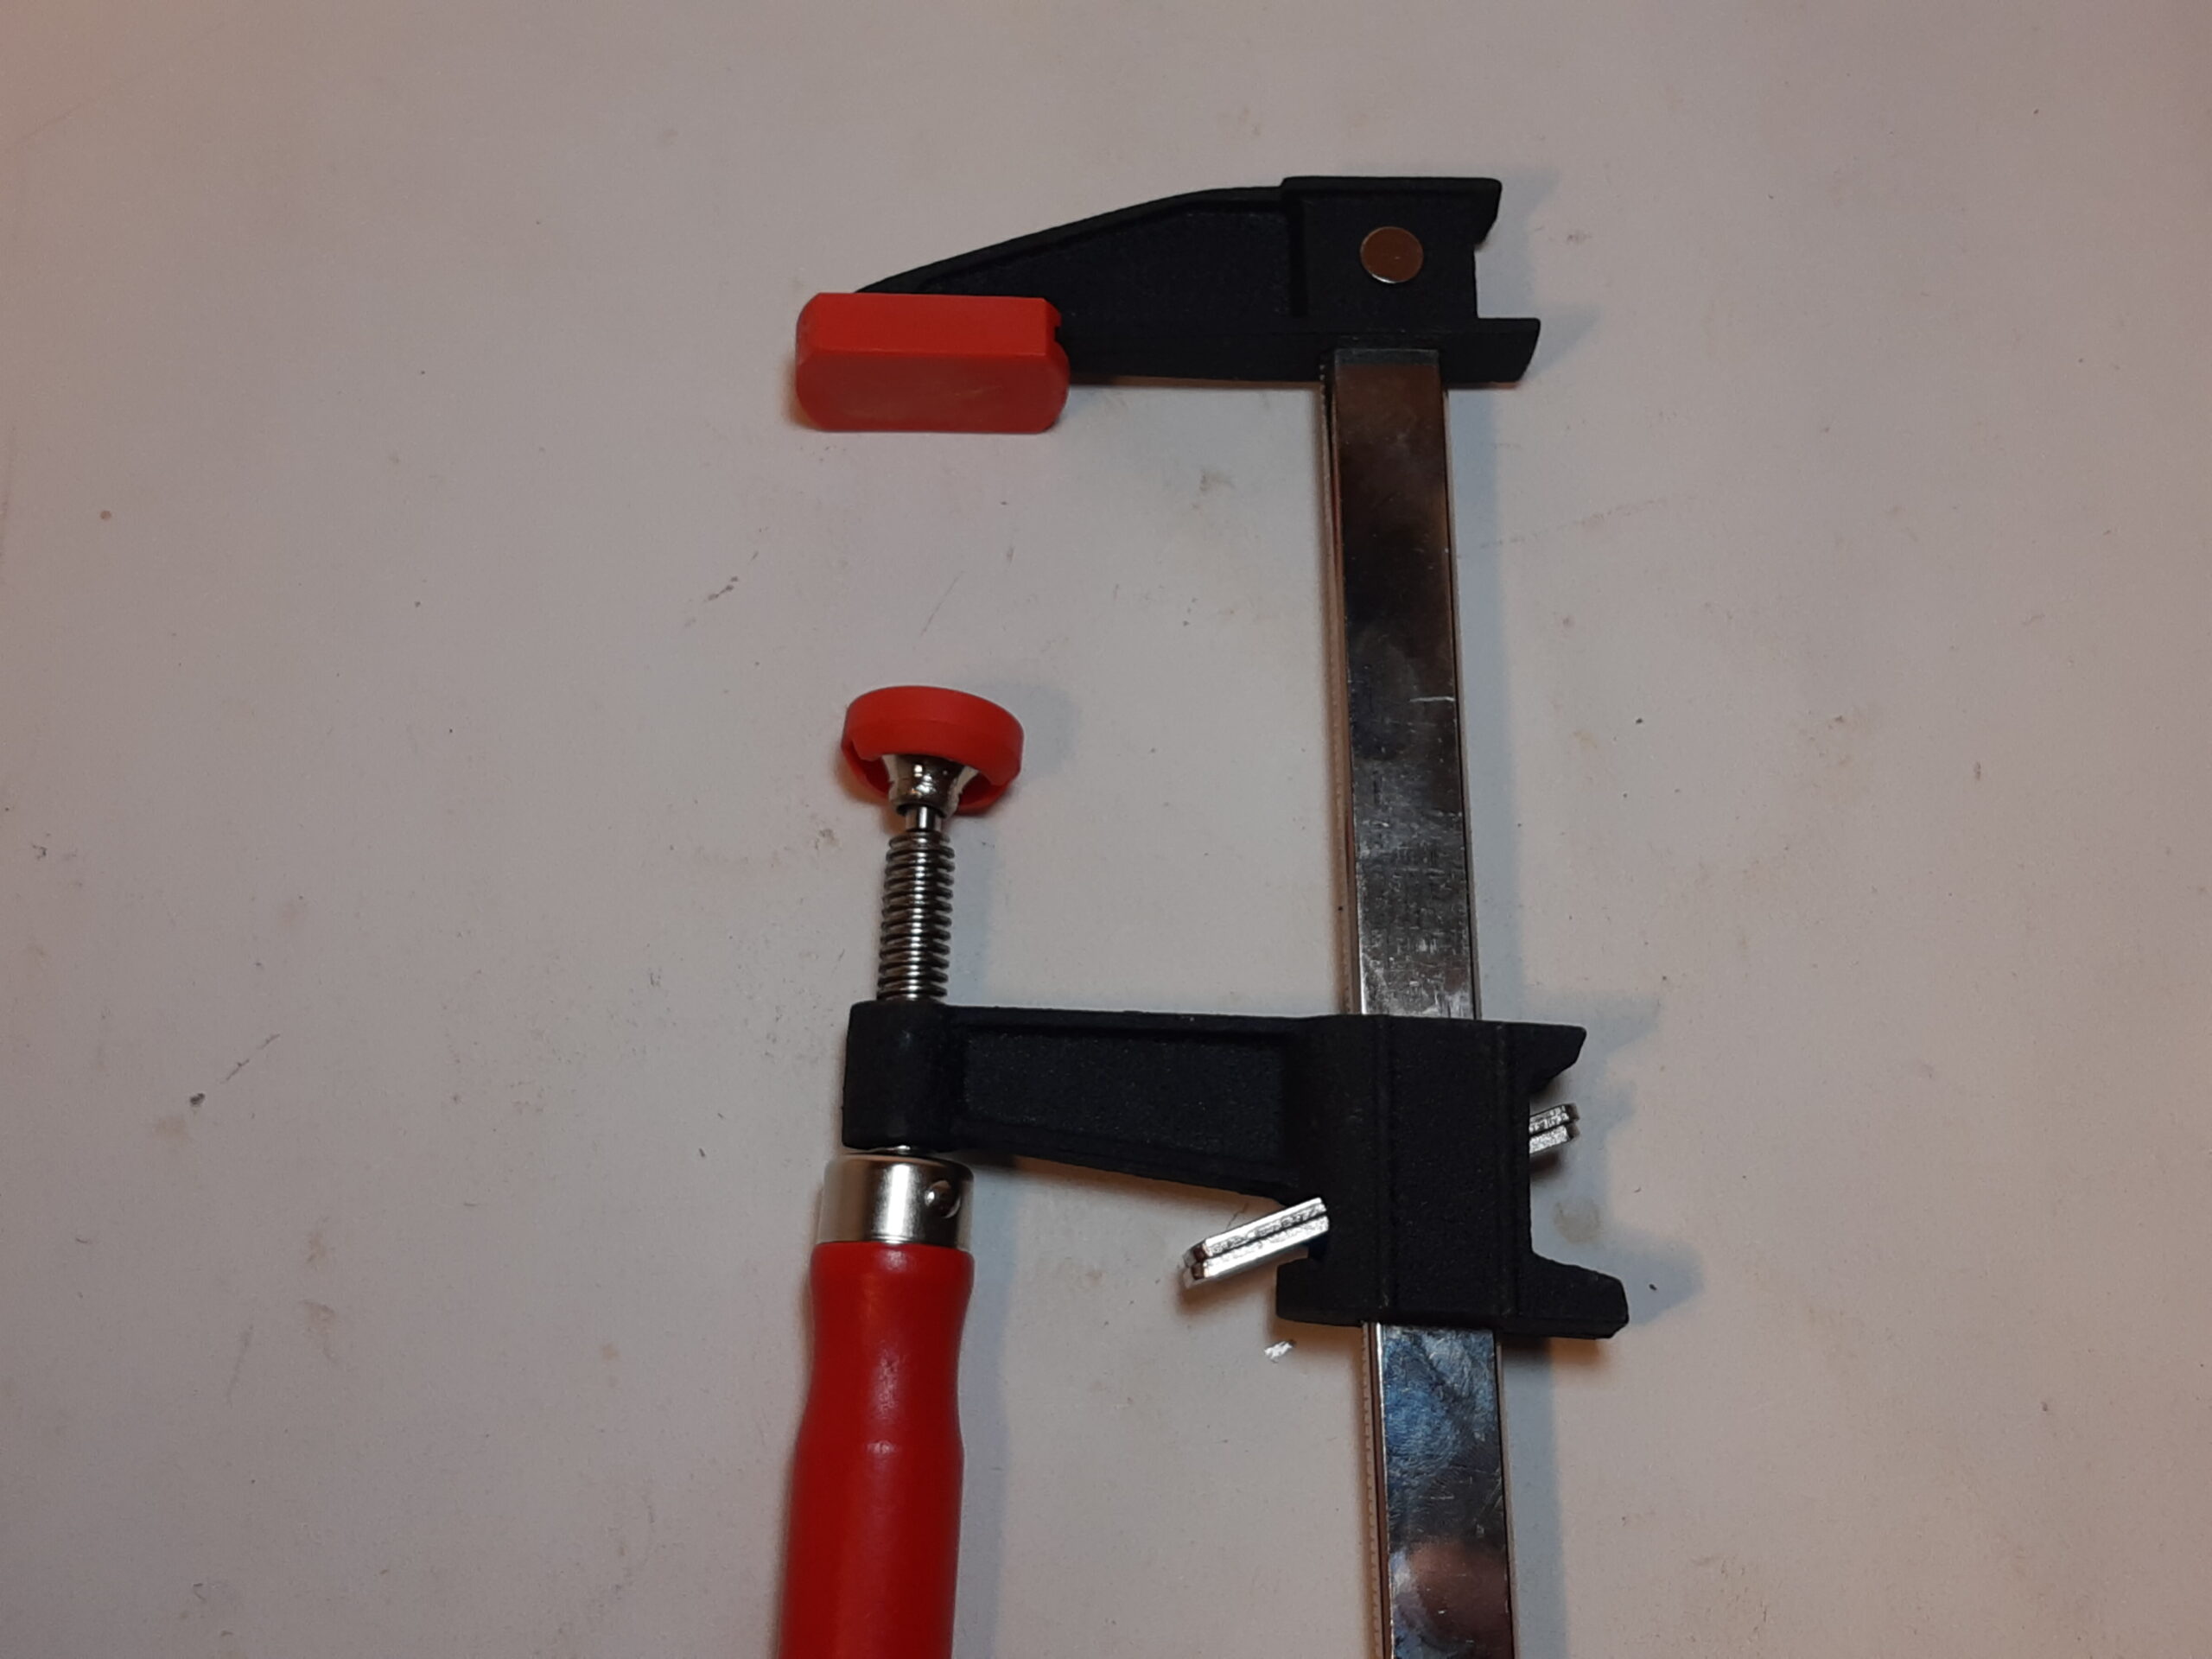 Pay attention to the handle that you tighten to bring the lower jaw towards the top jaw. If it is turned all the way clockwise as in the picture, you won’t have any extra threads to tighten it onto your project.
 -
 Back your handle down by turning it counter-clockwise all the way as shown, then your clamp is ready to use.
 -
 Try clamping a piece of wood to your work surface with the handle and bar facing upwards. Hold the bar and adjust the jaw using the spring-lock trigger until your jaws are touching both your project and the bottom of the table. Tighten the handle until your project is secure.
 -
 If you think the clamp could get in your way while you’re working, you can instead secure the clamp in the other orientation, with the bar and handle facing downward as shown.
 -
If you are concerned about the clamp jaws crushing or damaging your project’s surface, slide a thin piece of wood over the clamp jaws to protect your project.
-
Cheaply-made clamps tend to fall apart quickly and end up in landfills. Choose to use sturdy, well-made clamps that have more metal than plastic that will last longer and give you more gripping power.
What are clamps used for?
Practice using an F-clamp
Environmental concerns
Extension Challenges
- Applying clamps to a project once it is covered in glue can be a slippery, messy, tricky process! Practice using your clamps until you can apply pressure to your projects gently and evenly, without moving your project around much as you engage the clamp. Plan how you will clamp a project and have the right number of clamps nearby and ready to go BEFORE you get the glue out. Painter’s tape can be a great way to hold a project together while you use both hands to apply the clamp.
- Make a teamwork obstacle course: fill a bucket with wood scraps, and place an empty bucket on the other end of the field. Give your team mates two or three clamps. The goal is to move all the bits of wood without touching them – only by clamping them in the clamp jaws and holding onto the clamp handles as you walk across the field to drop them in the next bucket!