
This project is the second of a two-part Stepping Stone project, the perfect addition to a garden, patio, front step, or pathway. Part 2 covers how to mix and place the concrete, see Stepping Stone Part 1 for how to make the wooden form (or start now by using a found object such as an aluminum tray or plastic bucket as a mold).
Tools and techniques introduced in the stepping stone project are daily skills utilized by concrete finishers: screeding the top of a concrete form, smoothing the surface with a float, edging the sides with an edger, and creating a brushed or textured surface to create anti-slip grip and visual interest.
This project takes two sessions, one to mix and place the concrete, then after 24 hours or more, another session to remove the form from the outside and put your stepping stone in a garden or a path of your choice.
This project involves lifting and mixing heavy concrete; makers with less coordination or muscle strength may need assistance for these steps.
Safety note: concrete dust and wet concrete are irritants. Dust masks, gloves, and safety glasses should be worn while mixing and working with concrete.
Some tips for conserving concrete or making lighter stepping stones include: use 2x3s instead of 2x4s, fill the bottom of the 2x4 form with gravel fill until only 2" of space at the top remains, or use a small container instead of the wooden form.
Explore Related Trades Careers: Concrete Finisher
Tools & Materials
Material List
- Quikrete or similar, approx 0.29 cubic feet (3 1/2" x 12" x 12"), or one 50lb bag
- gravel to fill the bottom of the form (~1 1/2" x 12" x 12", or a few big shovels' worth)
- ~3'x3' 6mil poly plastic drop sheet
- concrete dye
- decorative stones, broken tile, pebbles
- boughs, leaves, etc.
Optional
Tool list
- safety glasses
- gloves
- dust mask
- cup measure or graduated container
- bucket to mix concrete in (or mix directly on poly)
- spade shovel or large mixing stick
- float (magnesium or wood)
- edger
- hammer (if duplex nails used on form)
- hand drill and driver bit (if screws used on form)
- bristle broom
- spray bottle
Optional
Procedure
-
 Choose the spot you will be making your stepping stone (outside on soil is a great spot, otherwise lay your form on the 6mil poly).
 -
Concrete mixing preparation: Follow the instructions on the bag, making sure you use the proper mix to water ratio recommended. Different size bags of quikrete are available so calculate the size of the form(s) in relation to the size of bag(s) you are using. Tip: mix slightly more (10%) concrete than is required, too much is better than not enough.
-
Following the procedure below, you will need a shovel, a measuring cup for water and a piece of plastic as a drop sheet. (A bucket and a ½” power drill can also be used for mixing the concrete but requires a lot more strength and has additional safety concerns. If this method is used, put the water in the bucket first and gradually add the concrete mix as you stir it).
-
Depending on the thickness of stepping stone you desire, and the lumber that is available, you may want to add gravel to the base of the form. (gravel is much cheaper than the concrete mixture as a filler). To maintain the strength required, a minimum thickness of 2” is recommended.
-
 Put on your safety glasses, gloves, and dust mask. Measure out the amount of clean water required for the amount of concrete you are mixing (not enough water will make the mix too dry and too much water will weaken the concrete and take longer to cure). If you are using concrete dye, add it to the water now.
 -
 Place the concrete mx on the plastic drop sheet. Make an indent in the center of the dry mix and add the required amount of water. Gently shovel the mix from the outside edges into the water and mix thoroughly till all dry portions are wet and consistent.
 -
 Scoop concrete into your form until it is doming and slightly over-full.
 -
 Using a scrap piece of 2x4 approx. 2’ long, level the top of the concrete. This procedure is called screeding. Place the 2x4 across the top of the form and move from side to side to flattening out the surface. If any voids are created, simple fill with concrete.
 -
 Smooth the surface using a wooden or magnesium float. Go back and forth on the concrete forcing the larger stones away from the surface and allowing the paste to rise, creating a smoother and more durable surface.
 -
 Run an edger tool around the perimeter of your form to round the top edge of concrete (this will help to prevent chipping).
 -
 Once the surface (bleed) water has evaporated, drag a broom or bristle brush across the surface to create a pattern.
 -
Push any decorative tiles, stones, or other objects into the concrete surface to embed them.
-
Press leaves or boughs into the flat surface and remove to leave a print.
-
 Wear thin vinyl or latex gloves and make hand-prints in the surface.
 -
To prevent the concrete from cracking while curing, keep your drying stepping stone out of direct sunlight, and keep it moist by spraying it with water from a spray bottle twice a day if you can.
-
Let your stepping stone dry a minimum of 24 hours, or the time recommended in the instructions on the bag.
-
 Use the hammer claw and a scrap piece of wood to help lever the nails away as shown:
 -
 Back each screw out using the drill and driver (in reverse).
 -
 Gently pull the 2x4s away from the concrete.
 -
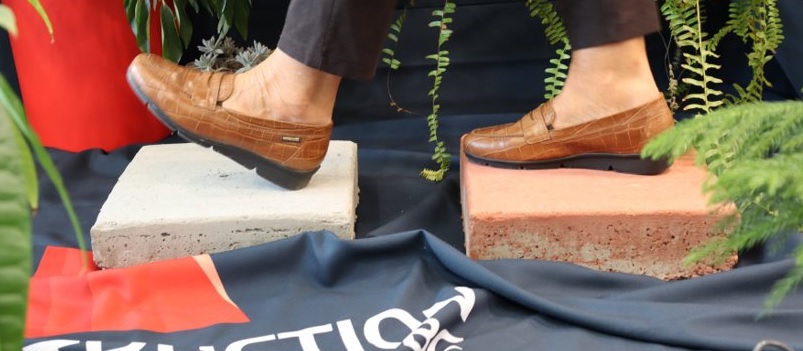
 Find a garden to set your stepping stone and enjoy!
To make your smooth concrete surface less slippery to walk on, texture it with any of the following ideas:
Curing the concrete:
If you used duplex nails on the form:
If you used screws on the form:
Reveal your stepping stone:
Extension Challenges
- Make several matching stones to create an entire garden path!
- Pour a larger slab that will stay in place. Use it as a place for people to sign their names: a graduating class, a maker's club, a family reunion, etc.
- Experiment with different non-skid effects for your stepping stone: can you add grit to a sealer and apply that after the concrete is dry? Can you add texture to the surface before the concrete has set?
- Consider different media that you can encase in concrete: can you design a plumbing system inside a block of concrete to make a water fountain? Can you set a picnic table into a concrete pad so it can't be removed?
- Get sciency: explore the effects of different mix:water ratios effects drying time, finish, etc.