

The “Pick the Booger” project shows you how to make a customizable game of skill that will not only help you get better at using needle nose pliers, but also let you experiment and play with simple electrical circuits. When you fumble and the pliers make a connection with the game board, the electrical circuit is completed and your board lights up! The game is a great way to visualize how a break in a circuit prevents electricity from flowing, as well as illustrate how one might unintentionally complete a circuit with a metal tool.
Design your own unique face plate to personalize your version of the game!
Design your own unique face plate to personalize your version of the game!
Tools & Materials
Material List
- One sheet of blank 8 ½” x 11” printer paper
- ~8”x11” aluminum foil
- ~8”x15” corrugated cardboard
- one 3mm or 5mm LED (3mm used in this example)
- one resistor rated for the LED being used (180 Ω used in this example)
- three AA batteries
- one 3xAA battery holder (wire leads attached)
- three connector wires with alligator clip ends
- one pair of needle nose pliers
- five+ assorted large metal nuts or copper end caps, inner diameters between ½" to 1”
- five+ small non-conductive objects, such as unpopped popcorn kernels, beans, etc.
- clear tape
- electrical tape
- one vibrating mini motor disc (2-5V DC)
Optional
Tool list
- scissors or utility knife
- pencil
- felt pen
- pencil crayons, felts, paints, etc. to decorate the game drawing
Procedure
-
 Design the theme of your game. The purpose will be to use needle nose pliers to pick tiny objects out of the center of the nuts (and/or end caps) without letting the pliers touch the metal. You will be drawing an overlaying picture complete with holes to pick the objects from. Will you be picking stones out from shoe treads? Will you be picking boogers from an ogre’s nostrils? Will you be plucking berries from a berry bush? Will you be picking the tastiest chocolate chips out of a bowl of trail mix? Once you know your theme, assemble your tools and materials for the next step.
 -
 On the blank paper, draw your picture outlines in pencil, then in felt pen.
 -
 Decide where on your picture your holes will be. Place a nut over each spot and trace around the inner diameter with a pencil.
 -
 Use scissors or a utility knife to cut the circles from your drawing.
 -
Tape your aluminum foil flat to the cardboard with clear tape, leaving about 4” of bare cardboard on one end.
-
 Place your drawing on top of the foil. Using the holes as a stencil, take the felt pen and draw the circles lightly onto the foil below. Lift the drawing off the foil.
 -
If you want to, now is the time to decorate your drawing with pencil crayons, felts, paints, or whatever materials you choose.
-
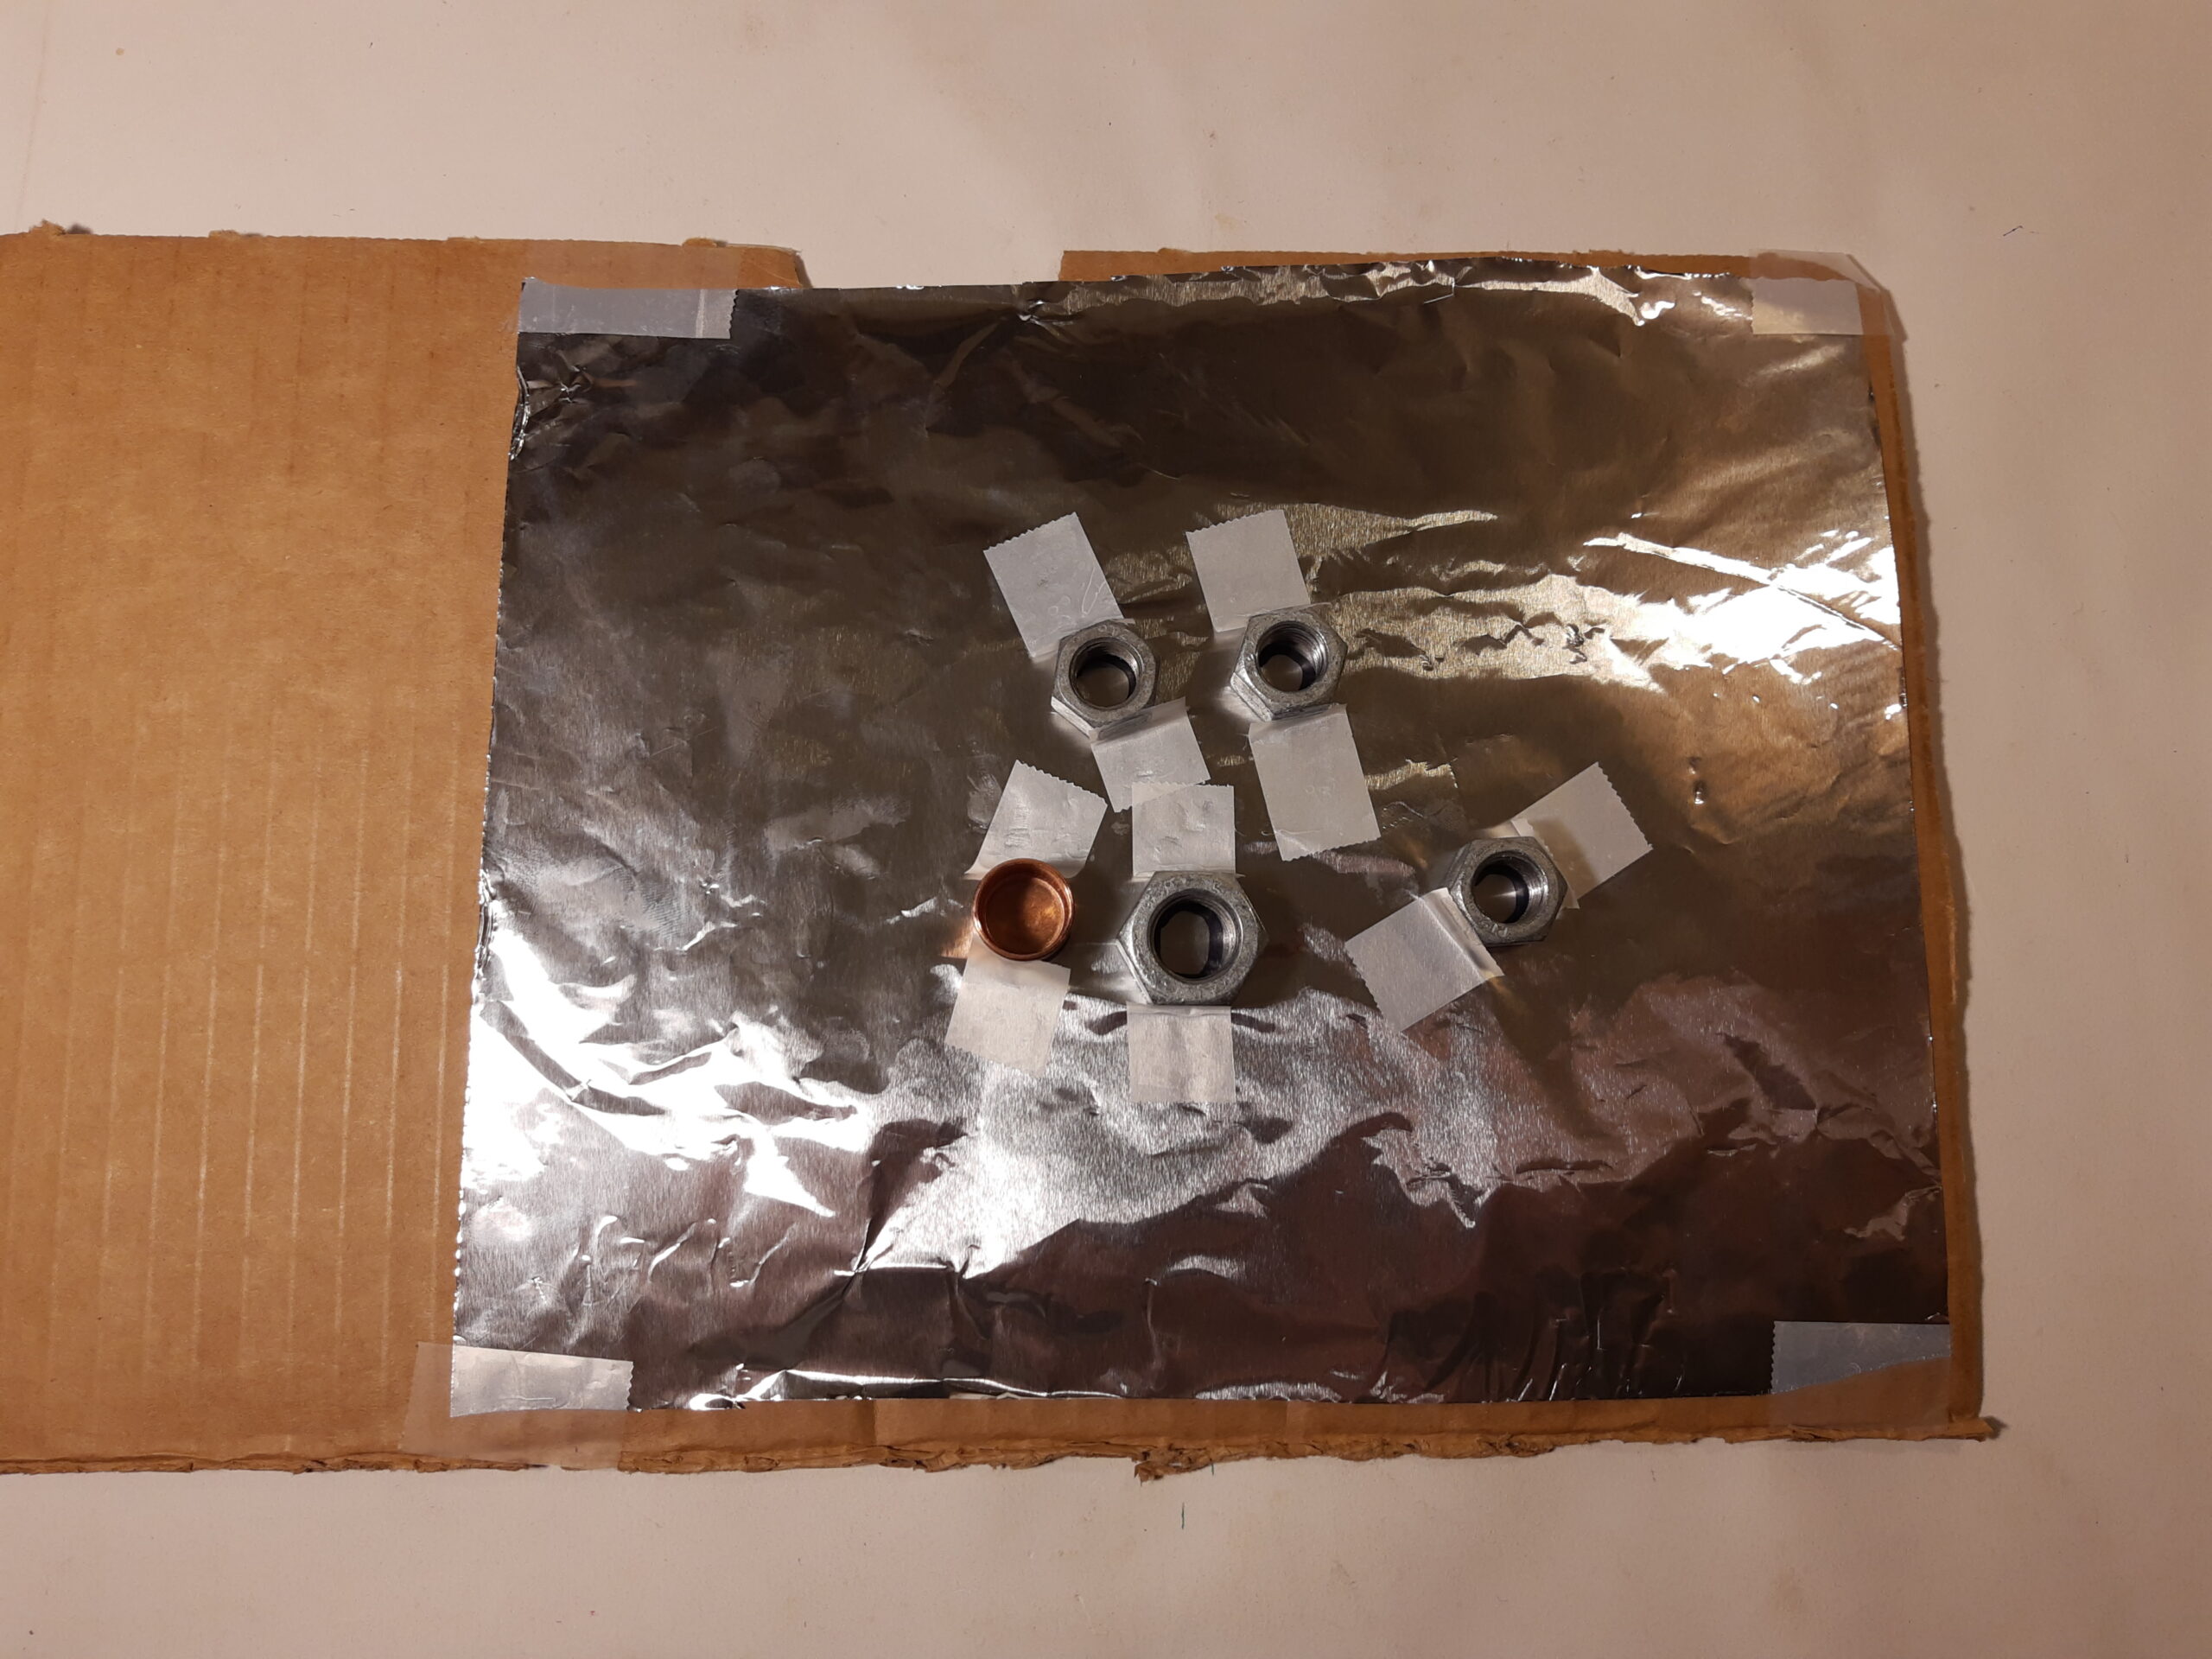 Place a nut over each circle on the aluminum foil. Use small pieces of clear tape to secure the nuts/endcaps in place, leaving the holes and tops of the nuts/endcaps uncovered.
 -
 9. Align the drawing on top of the nuts/end caps; you should be able to see down each hole to the threads of the nuts and the aluminum foil at the bottom. Tape around the edges of the paper with clear tape to secure it to the cardboard.
 -
 Use a small piece of electrical tape to secure the bare copper end of the BLACK wire from the battery pack to the aluminum foil. Press hard to make sure the copper and aluminum make good contact.
 -
 Use a long strip of electrical tape to tape the battery pack to the cardboard.
 -
 Clip a connector wire (red in the example) from the red wire of the battery holder to one end of the resistor. Coil up the extra wire and tape it to the cardboard to keep it tidy.
 -
 Take a second connector wire (green in the example) and clip one end to the free end of the resistor, and the other end to the positive (long) LED wire. Again, coil it up and tape it to the cardboard.
 -
 Use one more connector wire (white in the picture): clip one end to the negative (short) LED wire, and use electrical tape to secure the connector wire’s other alligator clip to a metal part of the needle nose pliers.
 -
Test your game by connecting the circuit: touch the needle nose pliers to each of the nuts, and to the aluminum foil at the bottom of each hole. The LED should light up each time you connect the circuit.
-
Drop one of the small non-conductive objects into each hole and practice picking them out without turning the LED on. Challenge your friends to play your new game! See who can pick all the items out the fastest, or with the least LED flashes.
-
Make sure that each nut is taped down to the aluminum foil securely to ensure a solid electrical connection.
-
Check for possible short circuits: make sure that the only metal bits touching the aluminum foil are the end of the black wire from the battery, and the nuts under your picture. Insulate any other metal, such as the alligator clip ends, with a wrap of electrical tape if they keep accidentally touching each other or the foil.
-
Is your LED wired in backwards? Unclip it from the connector wires, turn it 180° and clip it back in place.
-
Did you accidentally touch connect the LED without having the resistor in the circuit? Too much voltage and current can burn out an LED – try a new LED if yours won’t light up in either orientation.
-
Is the connection between the pliers and the alligator clip solid? Tighten and add more tape if necessary.
-
Do you need new AA batteries?
Make your game board:
Make your circuit:
TROUBLESHOOTING
Extension Challenges
- Insert a tiny vibrating disc motor, gear motor, or hobby motor, into your circuit to provide touch feedback (make sure that they are rated for ~4.5V). Use electrical tape to secure the bare copper end of the black motor wire down onto a bare patch of metal on the pliers. Attach the motor’s red wire to the connector wire leading from the LED. The mini motor will vibrate the pliers if you accidentally connect the circuit while picking out the object.
- Add an “active” buzzer to the circuit (in the same way as you would wire in the motor above) so you hear a beep as feedback when your pliers complete the circuit.
- Wire each nut with its own LED alert light. Experiment to find out which LED wire you have to tape where to make this work. Where will you need to add resistor(s)?